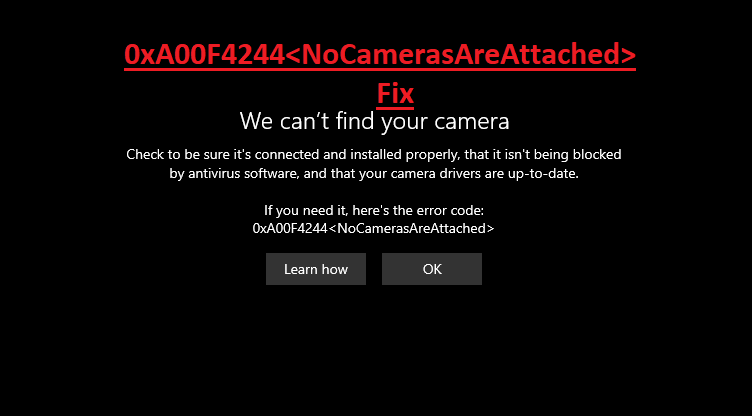
You want to make a video call or join a Zoom meeting, but the screen shows an error message stating the 0xA00F4244 error code. This is a common error where the operating system can’t recognize the camera that you have attached to your computer.
If the drivers of the camera are outdated or if the camera is disabled, you will see this error message. In case of the 0xA00F4244 error, you should troubleshoot it by yourself. With these expert methods, you can fix the 0xA00F4244 error and enjoy the camera.
1. Check Drivers
Drivers are the programs that the operating system uses to function the hardware components. The camera is hardware, and if its drivers are not up to the standards, you will get the 0xA00F4244 error message. In such cases, you should update change or update the driver according to the situation.
To do this, you have to go to the device manager. The first step is to uninstall the current drivers and then install the new drivers. After uninstalling the camera drivers, just go to the “Action” menu from the top of the screen and use the “Scan for hardware changes” option to let the computer install the latest drivers for the camera.
2. Enable the Camera
Many new computers feature a physical button through which you can disable or enable the camera as well as do the same from the Device manager. From a security point of view, disabling the camera is the best option to keep you safe from hackers. Once you have disabled the camera, you will have to manually enable it again. If the camera on your computer is disabled, follow these steps to enable it.
- Find the “Camera” option in Device Manager and expand it
- Select the camera and right-click to open the menu
- Click on “Enable device.”
Once you have enabled the camera, simply save the settings and check the camera for errors. If you still see the 0xA00F4244 error message, try the next method to fix it.
3. Use Troubleshooter
With the built-in troubleshooter in Windows, you can fix a lot of problems with your computer and its components, and the same goes for the camera as well. To fix the 0xA00F4244 error, you can use the troubleshooter, as it will automatically detect and get rid of the error for you. These are the steps to use the camera troubleshooter.
- Go to Start menu.
- Search for “Troubleshoot Settings.”
- Open the first search result.
- Go to “Other Troubleshooters” from the bottom of the screen.
- Find Camera option.
- Click on “Run” to use the troubleshooter.
Once the troubleshooter has dealt with the problem, restart the computer and try to use the camera again. If the problem is still there, try resetting the camera.
4. Reset the Camera App
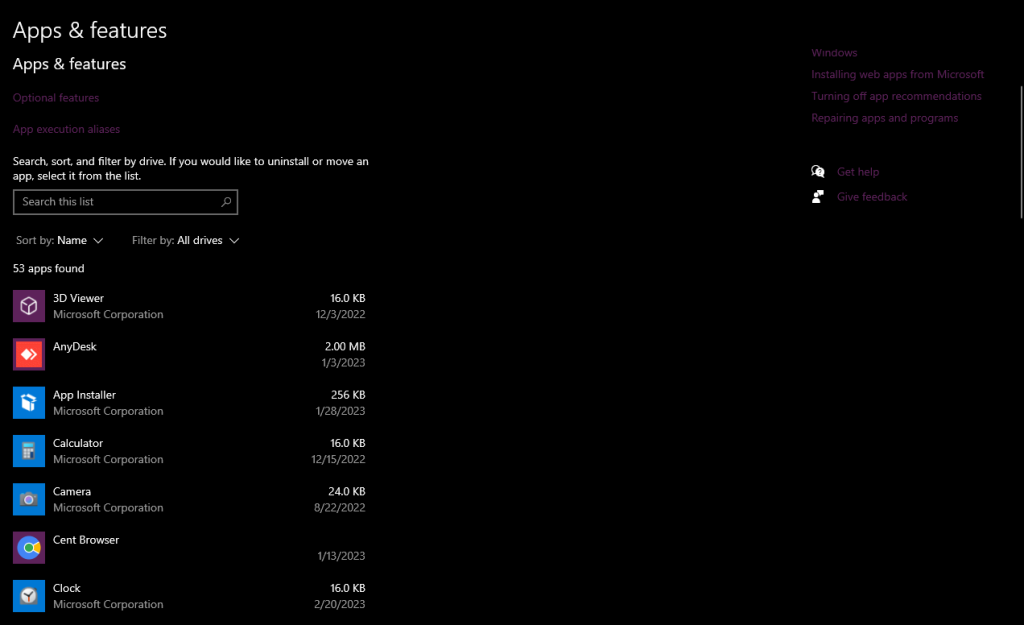
Windows features a separate camera, and if there is a problem with this app, you will get the 0xA00F4244 error message and won’t be able to use the camera app at all. If you get the 0xA00F4244 error due to problems with the camera app, you can reset it manually. Sometimes, corrupted cache files can prevent the camera app from working correctly. To reset the camera app, these are the steps.
- Open the “Settings” app.
- Go to “Apps.”
- Go to “Installed Apps.”
- Find “Camera” and open the menu by clicking three dots.
- Click on “Advanced Menu.”
- Find the “Reset” button and click on it.
Most of the time, resetting the camera app solves the 0xA00F4244 error code problem, but if it’s still here, the last step is to change the access of the camera before you need to send the camera for repair.
5. Change Access
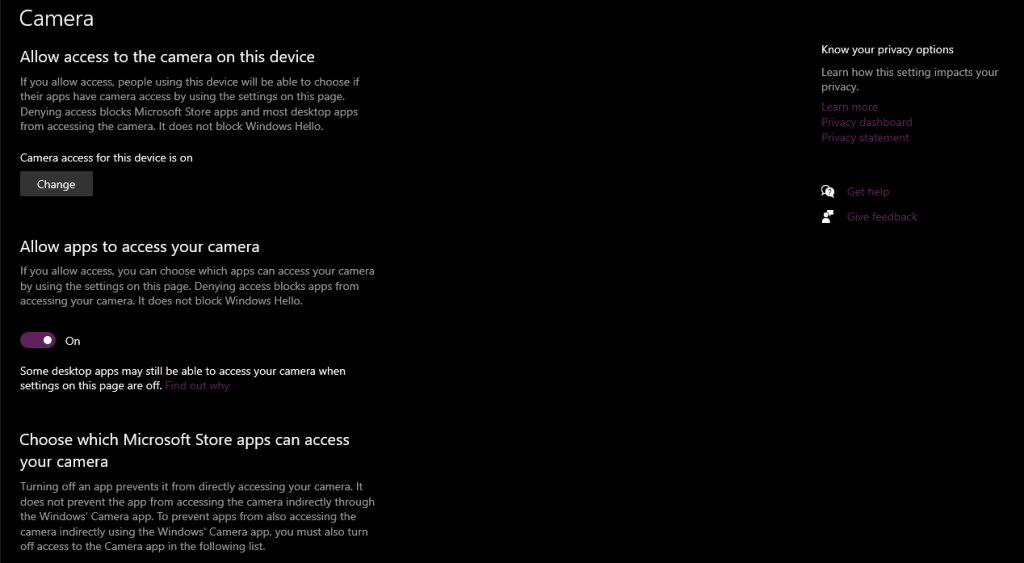
For the last resort, you can change the access of the camera from the settings menu because sometimes, apps can’t access the camera due to privacy settings. To change the camera access, here are the steps.
- Go to “Privacy Settings” from Windows Settings.
- Find the “Camera” option and click on it.
- Enable all the available camera settings.
- Save and close settings.
Check the camera for 0xA00F4244 error again.

