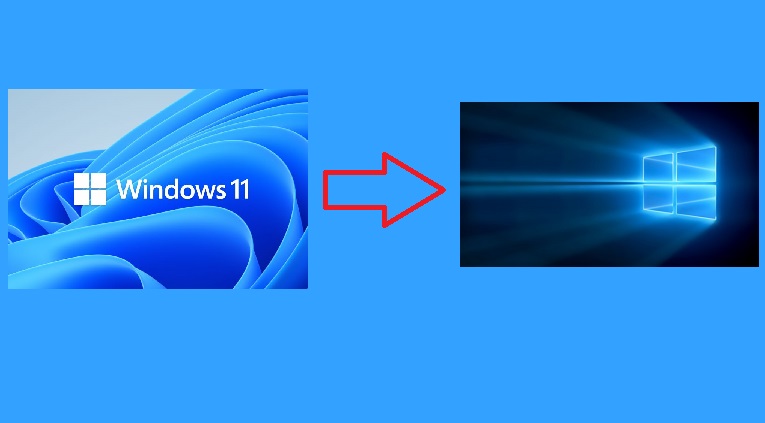
Microsoft has released the latest operating system in the Windows lineup, and everything from the start menu to the taskbar and file explorer is updated. While these updates look pretty good, many users still love the Windows 10 version of the taskbar, start menu, and other areas. This article features information for users who want to make the interface more like Windows 10. They can follow these guidelines to change the look of Windows 11. You cannot wholly revert the interface of Windows 11 to Windows 10, but these methods will surely elevate the user experience.
1. Create a Restore Point

Before changing the interface of Windows 11, it is essential to create a restore point, as the operating system can corrupt in the process. If this happens, you will lose all the important data. A restore point will save the day for you as you can restore the operating system to that point. Here are the steps to create a restore point in Windows 11. Creating a restore point won’t take much time, but it will save you from the effort of reinstalling the operating system if something goes wrong.
- Open the Start menu from the taskbar
- Type “restore point” on the search bar
- Open the first search result
- Go to the “System protection” section
- From the bottom, press the “Create” button
- In the new window, type a description of the new restore point
Once you successfully created a restore point, you can tweak the Windows 11 interface without worrying about bugs and corruption.
Read More: 8 Best Webcam Software for Windows 10
2. Adjust the start menu
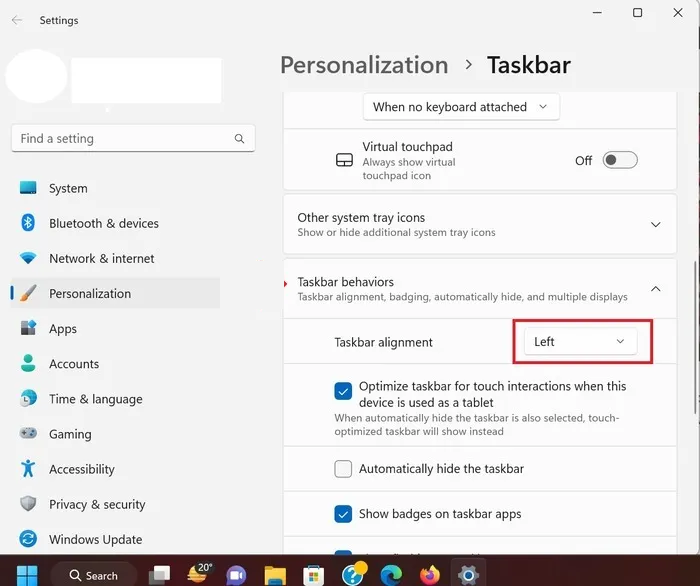
In Windows 11, you can adjust the position as well as the look of the start menu. While the position of the start menu can be adjusted from Windows settings, you will have to use a free tool to change the looks of the start menu. Till Windows 10, the traditional position of the start menu was on the left side of the taskbar, but Windows 11 changed it by placing the start menu in the middle. Luckily, you can change your position by following these steps.
- Open the taskbar menu by right-clicking on it
- Click on Taskbar settings
- Find Taskbar behaviors and expand it
- Change “taskbar alignment” from Middle to Left
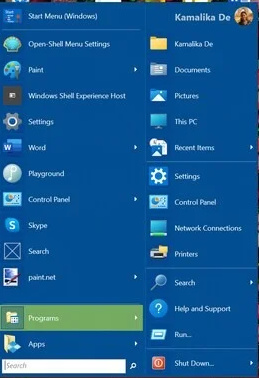
Once you have done this, the start menu will appear on the left side from now onwards, which means you are one step closer to making the interface of Windows 11 identical to Windows 10. You can also remove any icons that you want from the start menu, but to change the start menu itself, you will have to use a third-party app. The app is called Open-Shell, and it is an open-source program that you can download from GitHub.
During the installation of Open-Shell, you have to disable both Classic IE and Classic Explorer options to make the start menu identical to Windows 10. Once the app is installed, here are the steps to change the Start menu look.
Read More: 6 Ways to Take Screenshots in Windows 10
- Open “Open-Shell Menu settings” by typing it on the Start menu
- Choose the desired menu style from the available options
You can also change the start menu button from the Open-shell menu settings.
- Click on “replace start button” and select the desired start button
You can also upload a custom image as the start menu.
3. Change File Explorer
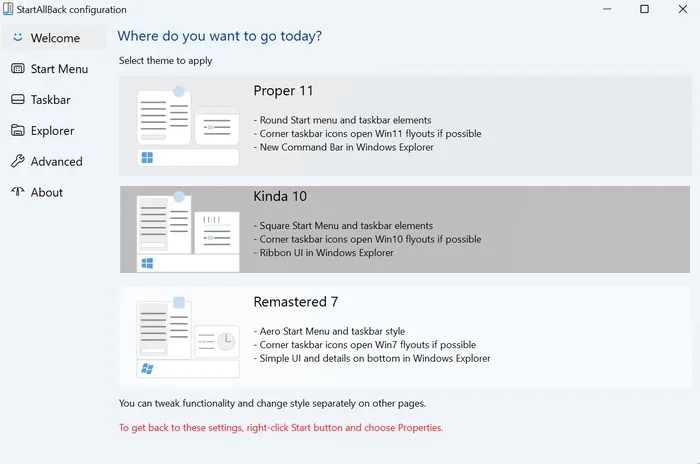
Compared to the file explorer in Windows 11, the file explorer in Windows 10 was way more user-friendly as it featured a ribbon where you could access all the necessary settings and menus. In Windows 11, you have to first click on the ellipses to access these menus, which will waste your time. To avoid this, you can change the file explorer from Windows 11 to Windows 10.
Previously, you could change the file explorer by editing some registry files, but users couldn’t do this after the Windows 11 Version 22H2 update. Now, you must use a third-party app to change the file explorer. The best app is StartAllBack. It lets you change everything from the start menu to the taskbar and interface of the file explorer. Here are the steps to change the interface of the file explorer.
- Open StartAllBack
- From the Welcome Screen, select “Kinda 10” to change the file explorer
This will change everything from the start menu to file explorer to Windows 10; you can go to explorer from the side panel to change the appearance of File explorer only. After you apply these interface settings, you have to restart the computer.
4. Change the Wallpaper
When a new operating system in the Windows lineup is released, Microsoft also releases some signature wallpapers native to the specific operating system. Who remembers the beautiful Windows XP wallpaper, which has become the signature wallpaper for Microsoft? Even that wallpaper was changed, and so did the Windows 10 wallpapers.
Read More: How to Customize Your Windows 11 – Best Tips and Tricks
In Windows 11, new wallpapers are available, but if you are changing the look of Windows 11 to Windows 10, you will want to apply the wallpapers of the previous version. You must download all the Windows 10 wallpapers from the internet and apply them manually. Try to download the highest-quality wallpaper to make the screen look crisp.
5. Adjust the context menu
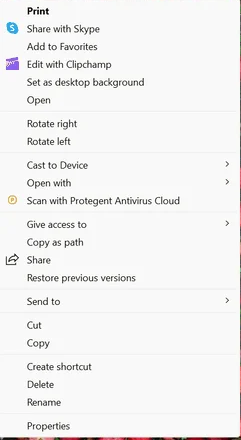
In terms of user-friendliness, Windows 11 has many bugs, but the context menu is the biggest. In Windows 10 and other previous operating systems, context menus were pretty detailed, but Windows 11 did the wrong thing by cutting them short. Now, they feature only a few options when you right-click on the screen. Changing the context menu should be on your list if you want to make Windows 11 look more like Windows 10. To change the context menu, you must edit some registry files by following these steps.
Read More: Windows 10 Guide: How to Restore Quick Access Toolbar
- Go to the registry editor.
- Go to the “Computer\HKEY_CURRENT_USER\SOFTWARE\CLASSES\CLSID\” address.
- Create a new registry key and name it “{86ca1aa0-34aa-4e8b-a509-50c905bae2a2}.”
- Create a new registry key and name it “InprocServer32.”
- Double-click on InprocServer32 and select default from the menu.
- Close the regedit and restart the computer.
Welcome back to Windows 10 with the long context menu with all settings. With this context menu, you can create new folders, share files, open properties, rename a file, or open a file with the desired app.

