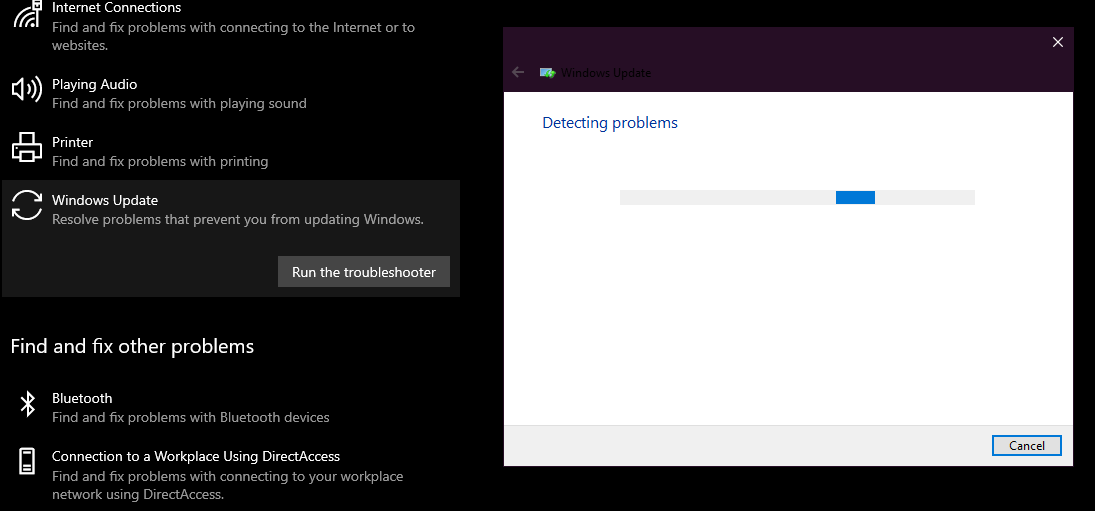
In Windows, troubleshooters help users in fixing problems, but they can face issues as well. The biggest issue in such cases is how you will troubleshoot a troubleshooter. The error is pretty simple where you want to troubleshoot a component, but the troubleshooter gets stuck in a loop. Sometimes, the interface of the troubleshooter is unresponsive to your clicks, or the progress bar is stuck at some point.
You may also get a message stating that the troubleshooting process won’t be completed. There can be causes as to why the troubleshooter will go into a loop or get stuck such as corrupt files, connectivity issues, disabled services, malware, and background processes, etc. To fix this error, here are five methods that you can try. Before trying these methods, make sure that there is no issue with your internet connection.
1.RUN Scan
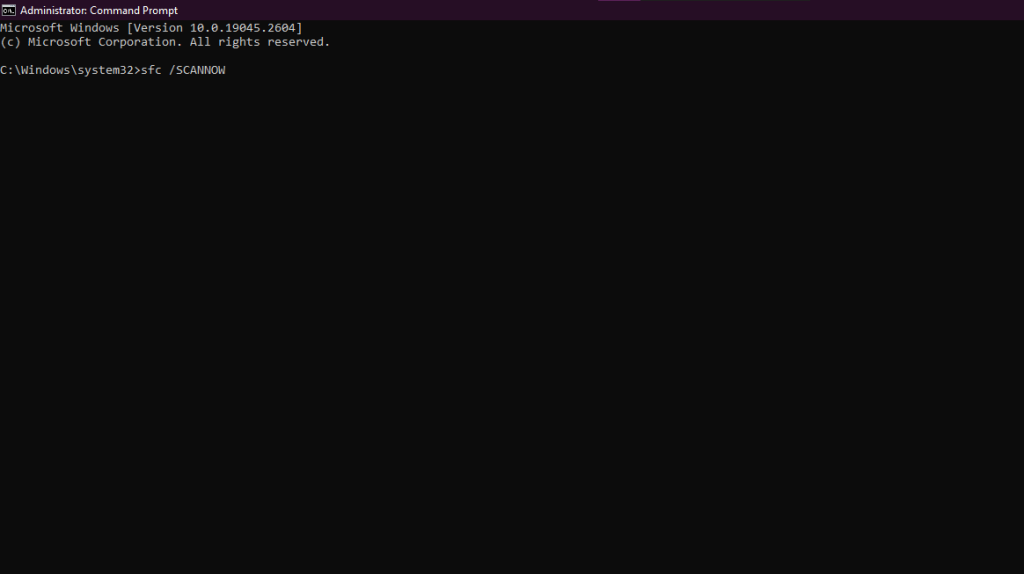
 SFC, which is also known as the System File checker, is a scan that automatically checks the integrity of all the operating system files and verifies them. If there are any incorrect or corrupt files, the scan will replace those files with the latest versions automatically.
You can run this scan from the command prompt. The system file-checking scan will only take a few minutes. Check the troubleshooter again for errors and if you experience the same error, move to the next step.
2. Turn on Cryptographic Services
If you are using the troubleshooter to fix issues with the Windows update, but it gets stuck, this can happen due to issues with Cryptographic Services. Windows uses these services to encrypt, decrypt, and verify.
These services are also used to create digital signatures and verify them. When there are issues with this service, the troubleshooter won’t work as it should. To try this method, you have to go to the services menu and turn on Cryptographic Services from there.
- Open the Run Dialogue with the Windows key + R.
- Type “services. msc” and hit enter.
- Find “Cryptographic Services” and right-click on it.
- Go to the properties section.
- Find the “Stop” button from the bottom of the screen and click on it.
- Wait for a minute before hitting the “Start” button.
- Press “Ok” and close the menu.
After trying this method, use the troubleshooter and see if the error is still there. If you still experience the error, run the disk cleanup by following the next method.
3. Run Disk Cleanup

Sometimes, temporary files on your computer are corrupted, and they can cause the built-in troubleshooter to go into a loop or get stuck at some point. With the disk cleanup feature of Windows, you can get rid of those corrupted files and fix the issue while clearing up some space at the same time.
The operating system stores a lot of unnecessary files, such as internet files, files in the recycle bin, temporary files, etc., which the disk cleanup option will remove. The troubleshooter also needs some storage space to complete the troubleshooting processes.
- Type “Disk Cleanup” on the start menu.
- Open Disc Cleanup.
- Select the desired partition or drive.
- Click “Ok”.
- Select files that you want to delete and Click “ok” to start the cleanup process.
Once the cleanup process has been completed, try to use the troubleshooter again and see if the error is still there. Try the next method if the troubleshooter is still stuck in a loop.
4. Change Policy Settings

By editing the scripted diagnostics policy from the group policy editor in Windows, you can get rid of the troubleshooter error where it gets stuck in a loop. The group policy editor holds all the policies for the operating system. The scripted diagnostic is a policy that enables Windows to use custom scripts during logging in, logging off, and startup. The same scripts are also used by the operating system to run the troubleshooter and solve issues.
By default, the group policy editor is not available on the Windows 10 Home version, and you will have to enable it. Those who are using other versions of Windows 10 can follow the next steps to solve the troubleshooting issue. Sometimes, policies are disabled in the group policy editor.
- Open the Run dialogue.
- Enter “gpedit. msc” and search for it.
- Follow the address “Computer Configuration > Administrative Templates > System > Troubleshooting and Diagnostics > Scripted Diagnostics.”
- Right-click on the first entry and Enable it.
- Repeat the same process for the remaining two entries.
- Close Group Policy Editor.
5. Close Background Processes

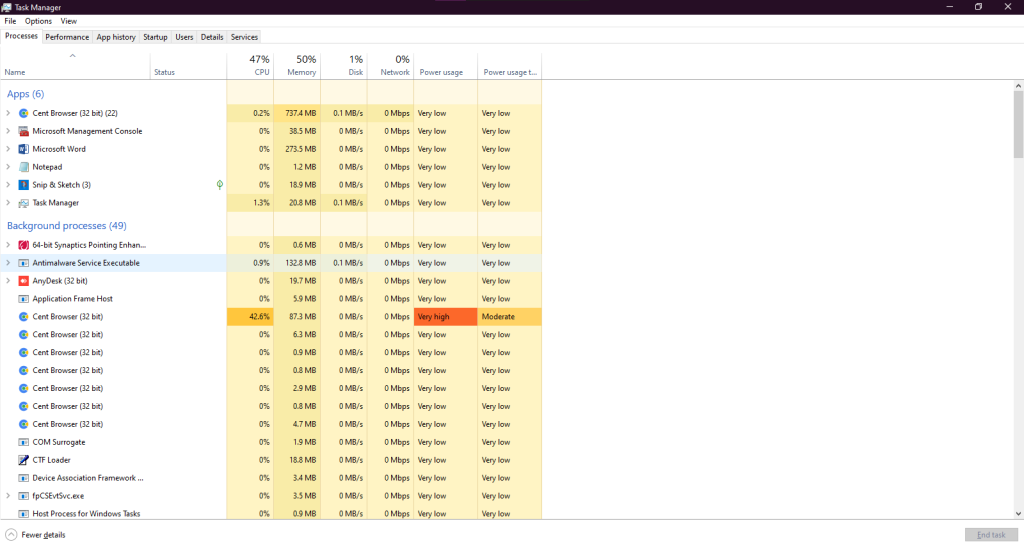
Even if no programming is running, hundreds of background processes are running in Windows. These processes can sometimes cause the troubleshooter error. These processes also take up a lot of resources, such as RAM and CPU. You can close these processes to try the troubleshooter.
- Go to Task Manager.
- Select any process you want and close it.

